How to Relate the Fields of Two Objects in Salesforce
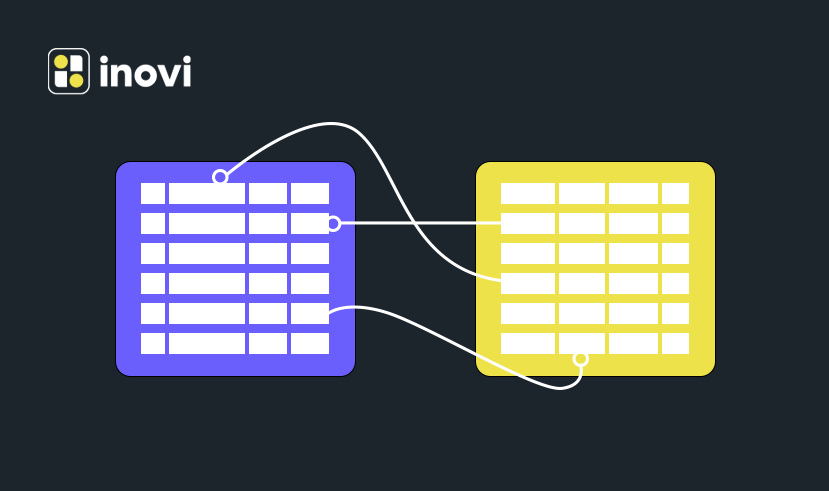
A unique field type that links two items together is known as an object relationship.

Consider an everyday object like an Account. A sales representative has presumably spoken to a few persons at the company where the account is located before opening the account. They likely have stored the contact information for people they’ve met in Salesforce, including CEOs and IT managers.
In Salesforce, the Related tab has a section for Contacts when you inspect an Account record. Additionally, you can see that a button exists that enables you to add Contacts to Accounts rapidly.
One example of a typical relationship in Salesforce is the Contact to Account relationship. But you can create custom relationships just like fields and objects.
Types of Salesforce Object Relationships
Object relationships are mostly of two kinds—master-detail and lookup.
Lookup Relationship in Salesforce
A lookup connection connects two objects, so you may “look up” one object using the associated elements on other objects.
You can have one-to-one or one-to-many lookup connections. Since a single account might have numerous linked contacts, the relationship between an account and a Contact is one to many. A Home Seller object and the Property object could have a one-to-one relationship.
Master-Detail Relationship in Salesforce
Master-detail connections are a little closer knit than lookup relationships, which tend to be more casual. One object serves as the master in this interaction, while another acts as the detail. And the master object controls who can view the data in the detail object, for example.
Let’s take the case of a property owner who wished to remove their house from the market. All offers made on the property would not need to be retained. You can remove the property and all of its offers from your system if a master-detail relationship exists between the property and the offer.
Relationships Continued
Relationships are challenging, just like they are in real life. Here is some additional information to assist you in distinguishing between master-detail and lookup relationships.
Lookup relationships are typically used only when objects are sometimes related. A contact may or may not be associated with a particular account, depending on the situation. Lookup relation items typically function independently and have separate user interface tabs.
The detail object cannot function independently in a master-detail relationship. It is very reliant on the master. However, every detail record associated with a deleted master object is also removed. When constructing a master-detail relationship, the relationship field is always created on the detail object.
A hierarchical relation is the third type of relationship you might encounter. The primary distinction between the two is that only the User object supports hierarchical relationships. They can be used, for example, to link users together in management chains.
Keep in mind that your data model will become more complex when you begin to build relationships between things. That’s not necessarily wrong, but exercise extreme caution whenever you modify or remove records, objects, or fields.
For further details on relational behaviors, see the resources section.
Creating Custom Objects
Consider the case where a vendor needs to monitor consumers who bookmarked properties on the website. The real estate brokers may use this function to contact potential homebuyers.
Start using the new Trailhead Playground created in the prior unit, even if you’re doing this module as part of the Admin Beginner path.
Create a custom object, name it Favorite, and add a field to start things.
- Start by selecting the Object Manager tab.
- In the top right corner, select Create>Custom Object.
- Type Favorite in the Label field.
- Type “Favorites” in the Plural Label field.
- After saving the custom object, select the box to launch the new custom tab wizard.
- Click Save after leaving the remaining values at their defaults.
- Select a style you like by clicking the Tab Style option on the New Custom Object Tab screen.
- Select Next, then Save.
Creating Lookup Relationships
On the Favorite object, we’ll add two unique relationship fields.
Let’s start by building a lookup connection relationship that lists users who choose Favorite as their property preference.
- Select Object Manager>Favorite from Setup.
- Select Fields & Relationships from the sidebar.
- Select New.
- Click Next after selecting Lookup Relationship.
- When prompted, select Contact. Contacts are used by the vendor to represent prospective homebuyers.
- Press Next.
- Type Contact in the Field Name box, then click Next.
- Select Next, then Save.
Creating Master-Detail Relationships
We’ll be creating the field for the second relationship here. Property should be the master, and Favorite should be the detail in this master-detail connection.
- Select Fields & Relationships on the custom object’s Object Manager page.
- Select New.
- Click Next after selecting Master-Detail Relationship.
- Select Property in the Related To field.
- Press Next.
- Type “Property” into the Field Name field and click Next.
- Select Next, then Save.
The associated tab of a Property entry now includes a list of Favorites.
Adding Favorite Properties
Let’s look at the process for seeing favorite properties.
- Locate and choose Sales from the App Launcher (in the navigation bar).
- In the navigation bar, select the Properties tab. Try looking under the dropdown titled More if you can’t find it.
- Select a Property record’s name.
- Select Relative. In the relevant tab, you may see Favorites (0).
- Select New.
- Type a name into the Favorite Name field, then select Save.
Well done! The Favorite object is ready to use.


