|
| |
Inovi Tree List View
|
Installation Guide
|
|
|
|
Your Hierarchical View of Anything
|
| |
Table of Contents
|
|
1. Installation
2. Setting Up Inovi Tree List View
3. Using Inovi Tree List View in a Record Page
5. Demo Video
5. Support
|
|
1. Installation
|
|
Choose one of the following methods to install the App:
1. AppExchange Marketplace
2. Direct Link
|
|
AppExchange Marketplace
To install from AppExchange, go to the URL below and follow the steps.
A. Go to the Inovi TreeView AppExchange link
B. Click on Get it now
C. Install the Package in Production or Sandbox environment
|
|
|
|
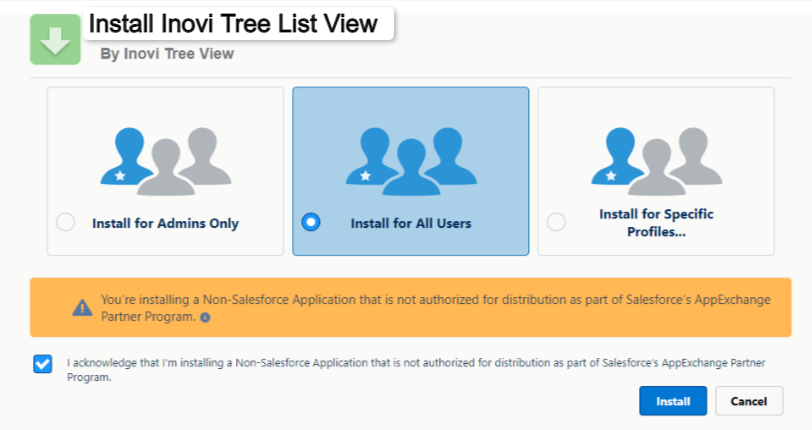
D. Select the appropriate User Installation. Click Install
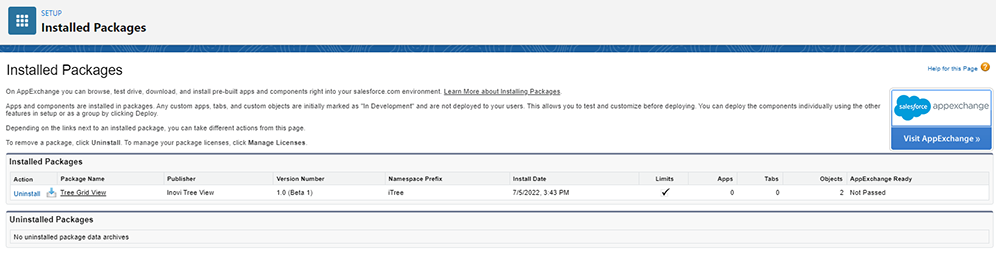
E. Click Done. Inovi Tree List View will automatically show up in your Installed Packages.
|
|
|
Setting Up Inovi Tree List View
|
|
Inovi Tree List View can be used with any Standard or Custom objects having self-lookup fields.
In this example, we will use the lookup relationship on the Account object to create a hierarchical view of Property records. Similarly, you can use any standard or custom object that has a self- relationship to create a hierarchical view.
|
|
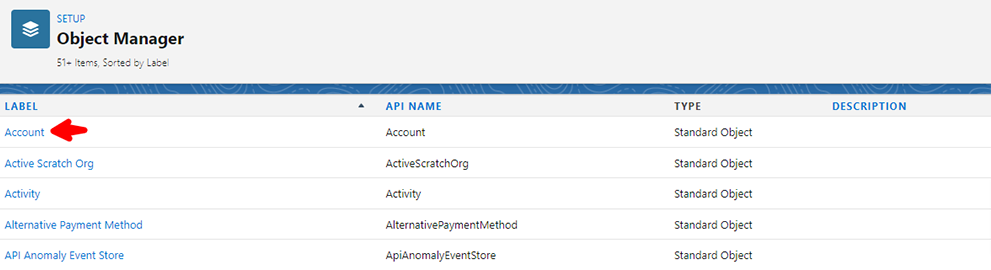
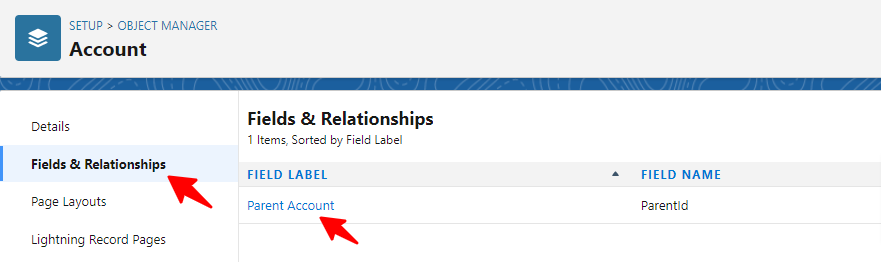
1. In Setup, select Object Manager then Account.
|
|
|
2. We will use the standard Parent Account lookup field in this example.
|
|
|
|
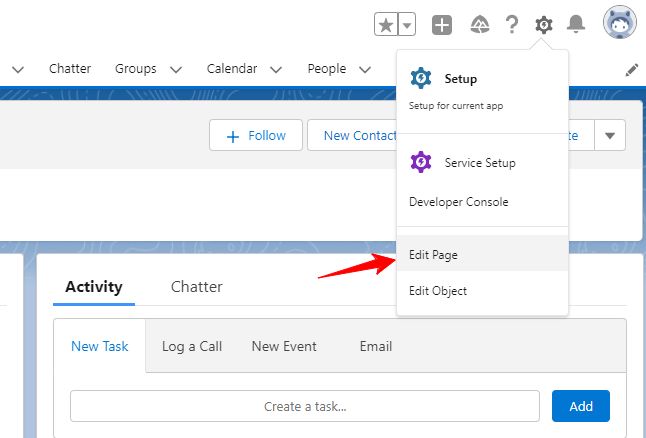
3. Click the Gear icon from an Accounts record page and select “Edit Page.”
|
|
|
|
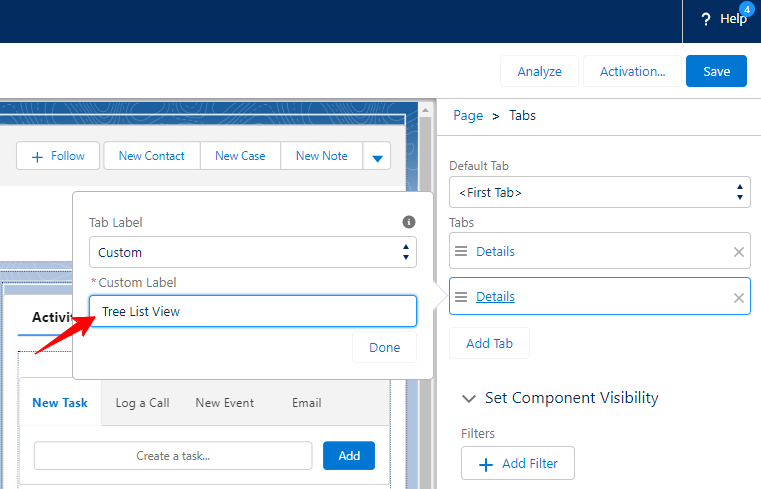
4. In the Lightning App Builder edit page view, create a custom tab. Name the custom tab. For this example, we are naming the tab “Tree List View”
|
|
|
|
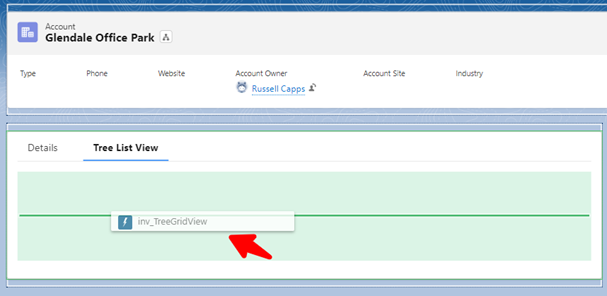
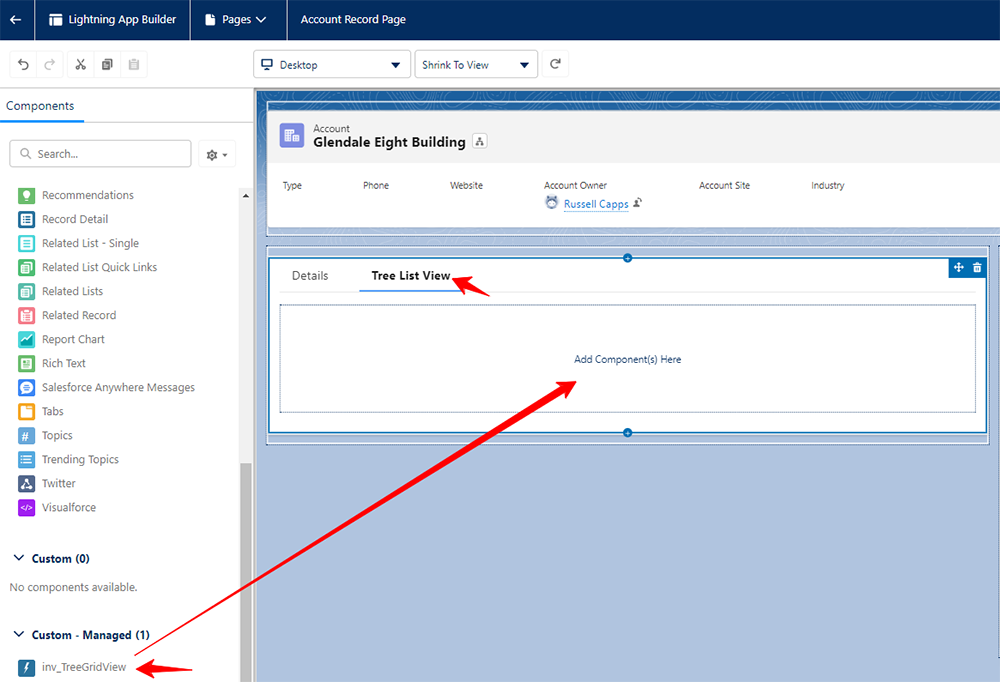
5. Click on the Inovi Tree List View component. Drag the Inovi Tree List View component to the Add Component(s) here, and drop it. **The Inovi Tree List View component can be added anywhere on the record page.**
|
|
|
|
|
|
6. Activate the edited Account Record page. Select the form factors that you want your record page to be available for. Save your changes.
|

|
|
|
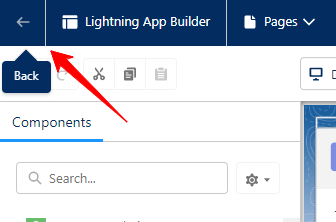
7. Once saved, click on the back arrow to return to the record page.
|
|
|
|
8. Success! You have successfully installed Inovi Tree List View!
|
|
|
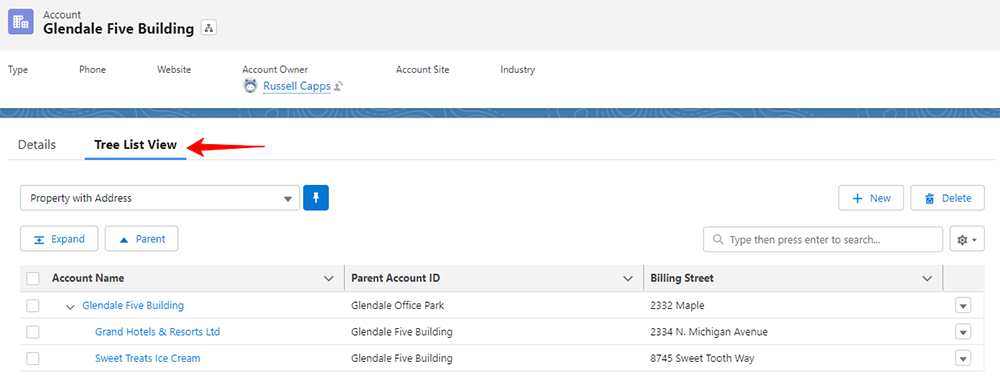
Using Inovi Tree List View in a Record Page
|
|
1. Inovi Tree List View comes with a standard “All” List View but you can edit and create custom list views.
|
|
|
|
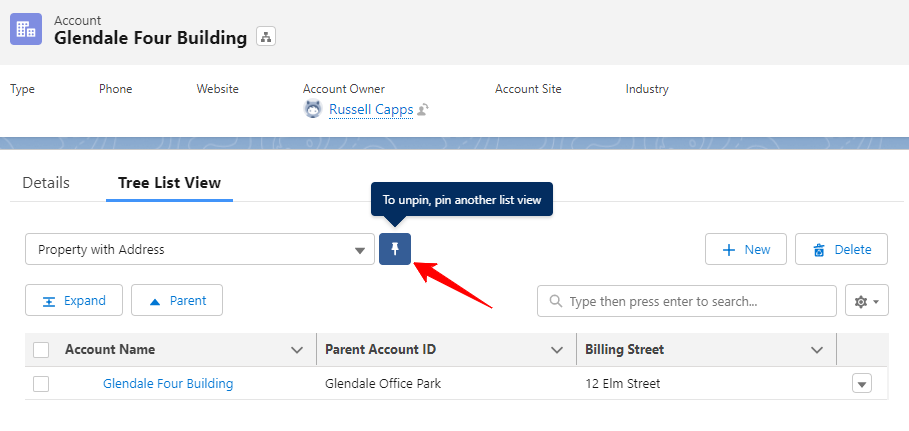
2. Be sure to “Pin” your Property List View to display your list.
|
|
|
|
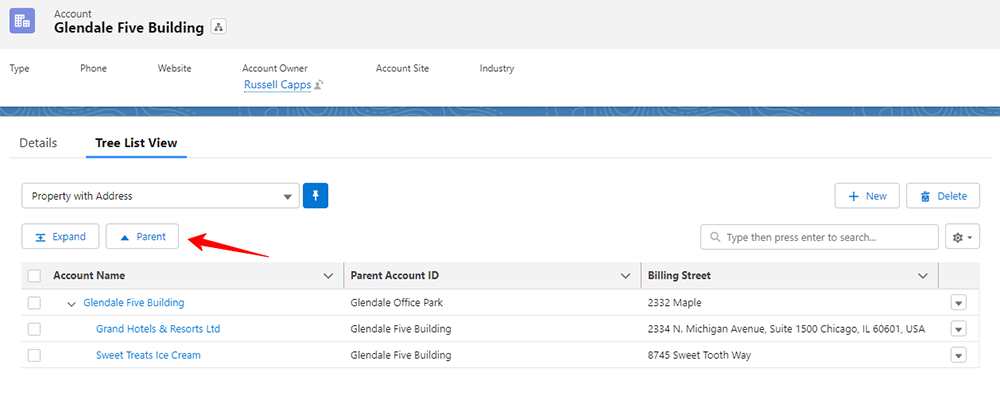
3. Use the Parent Button to navigate up the account hierarchy and the Expand button to see each generation of children, grandchildren, etc.
Parent Button
|
|
|
|
Expand/Collapse Button
|

|
|
|
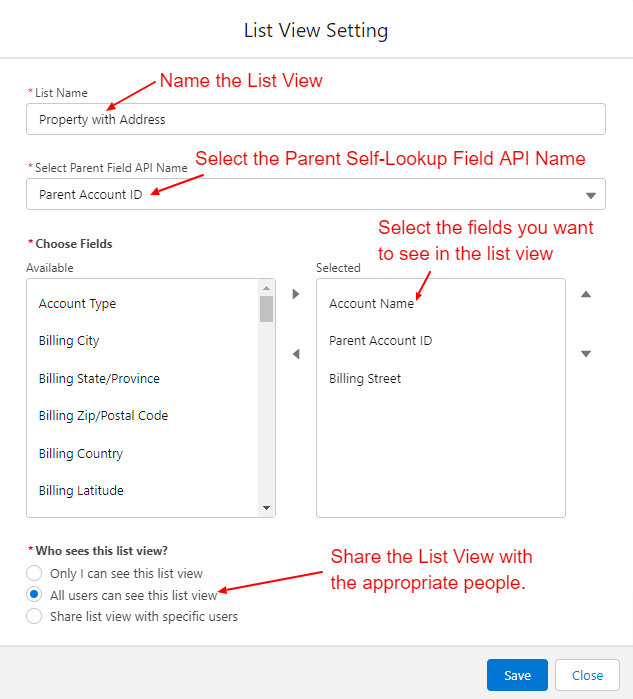
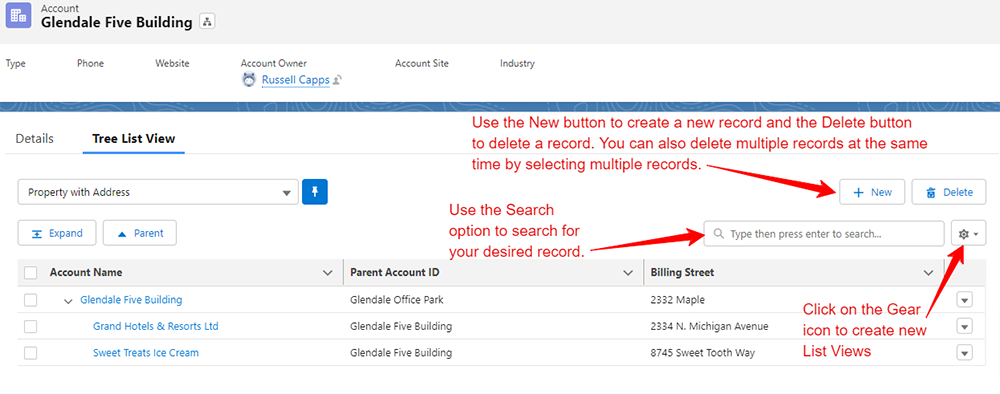
Search Option and Creating a new List View
|
|
|
|
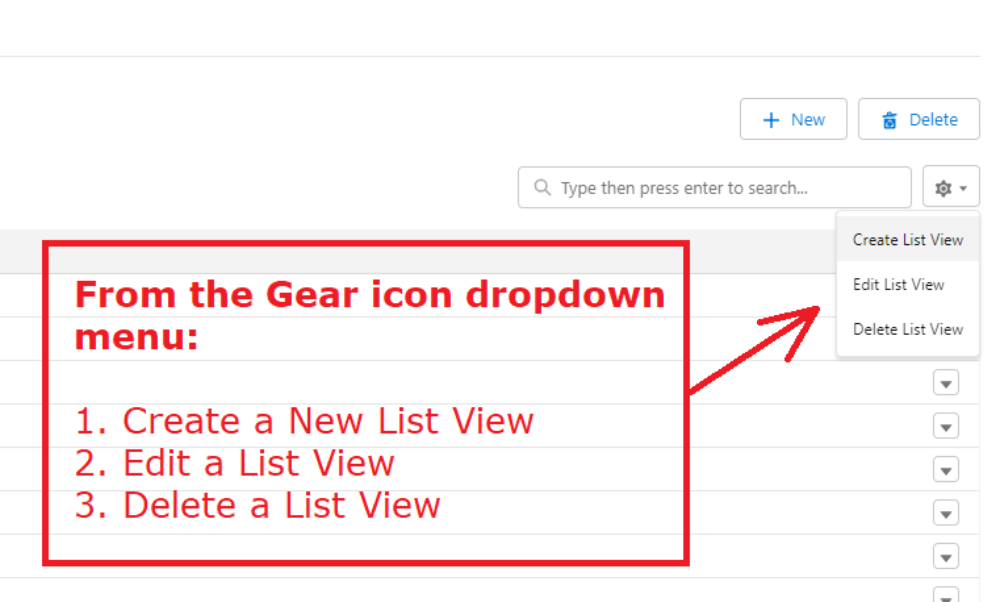
4. The dropdown list from the Gear icon allows you to create, edit and delete list views:
|
|
|
|
|
|
|